Rivers have lots of different features, from the river banks to boulders to waterfalls. The activity below is a great way to sit by a river and pay attention to what is around, whilst improving your map drawing skills. You can download and print the activity sheet below which includes a features key to help everyone create their river map.
What you will need:
- Printed activity sheet
- A pencil and rubber
- Clipboard (optional)
If you have compasses, you could have your group add directions to their map!
How to river map:
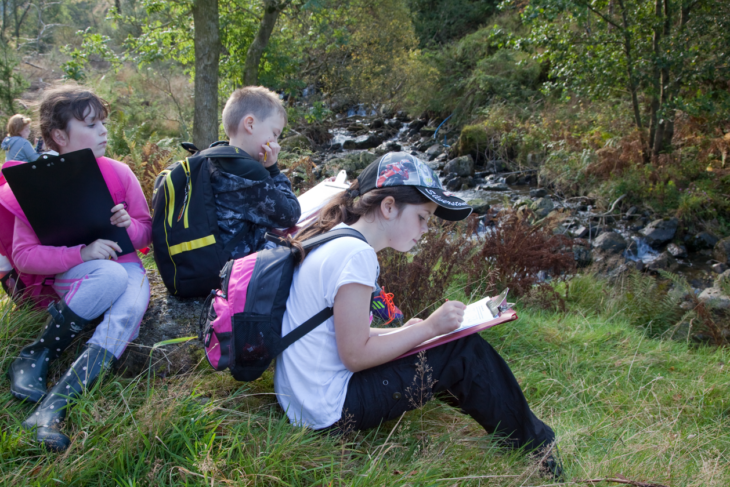
- Find a good spot beside the river. Give everyone in the group a copy of the printed activity sheet and a pencil (or one between each pair/small group). They will need something to lean on. If you have clipboards, hand them out.
- Have a look around at the river and prompt some discussion. What can you see in the river and along the bank looking left and right? Any wildlife, vegetation or man-made features?
- Using the key on the activity sheet, start to map out the river in front of you. Look at the shape of the river and draw the shape of the river bank on the page.
- Next, add some of the features you can see using the correct symbols shown in the key. If you spot something not on the key, add it to your map with a label. Remember to keep checking the river to make sure you place them in the correct position on your map.
- Once you have added all your features, your map is finished! Hold it up to the river to see if you have added all the features you can see.
If in a large group, you could split up and pick a different spot and re-group once you’ve completed your maps. Compare your maps, taking turns to say which features you’ve each spotted. You could even join them up to create a mega map!
Share your river maps with us by using #DiscoverLearnPlay